
Union Riveter Krissi Sandvik is back with another tutorial. This one would be fun to do with the kids over the summer - it's housework disguised as a science project!
Here is a DIY on how to quickly clean that pesky tarnished silver without any elbow grease using stuff you have around the kitchen.
Krissi Sandvik is the artist and owner of Krissi's Art Studio, home of Skelekitty and Friends in Folsom (yes, like the prison) California, where she resides with her husband, cats, tortoise and Jack Russell Terrier, Abby. Krissi, claims to have been raised by a pack of wild attorneys, was unofficially named "best tutorialer on the web" by her friend Rachelle Rose .


Showing posts with label craft. Show all posts
Showing posts with label craft. Show all posts
Wednesday, May 16, 2012
Ask Krissi's Art Studio: Easy/Quick DIY for Cleaning Silver


Friday, November 11, 2011
Ask Krissi's Art Studio: Funkified Tea Tins Tutorial
Union Riveter Krissi Sandvik is back with another fun and very colorful tutorial. This one would be fun to do with older kids, and these tins make great gifts!
I'm a tea addict. I picked the habit up in the UK and have since collected tea cups, kettles and pots. I buy my teas loose and in bulk from a local shop, the owner of which keeps me supplied with all my favorite black teas. A tin is great way to keep your teas fresh and tasty, while showing off your personal taste! Here's what you'll need to get started:
Measure:
The Ephemera:
Gather your decorative papers. You can use scrapbooking papers, Loteria tablas (as I did), junk mail, catalogs or just about anything flexible enough to glue to a tin! Remember, use only images in the public domain or that you have permission to use. Even if you're not selling these items, you may not use someone else's art or images.
Trim your papers to fit within the measurements you took in step 2.
The Adhesive:
Choose an adhesive that works best with your materials. For metal tins, use a solvent based gel glue like E6000 or Liquid Nails. If you have a foil-lined paper canister (like a cocoa container), you can use a tacky white glue or my new personal fave, YES! paste.
Spread adhesive evenly over the surface to be covered. DO NOT spread glue over the lid-line. If you are using an industrial-strength solvent glue, you will need to work quickly and in a ventilated space (you twisted little glue-sniffer).
DO IT ALREADY!
Apply your pretty papers and let your glue dry.
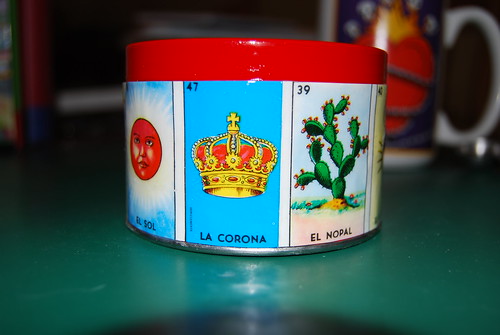
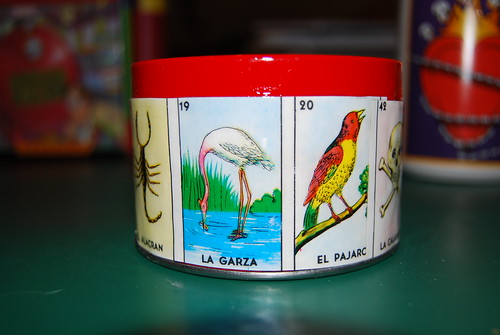
Repeat the process with your lid. I chose to sand off the existing finish and paint the sides of my lid in a color that I matched to one of my papers. You could also use spray paint, tiny scraps of paper or a thin paper that would easily wrap from the top to the sides.
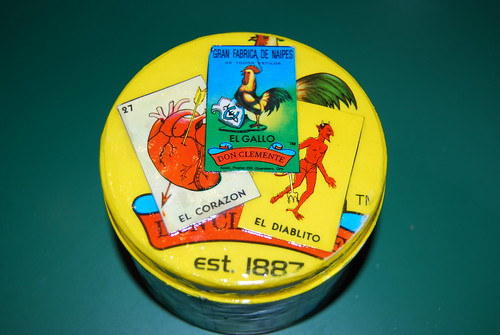
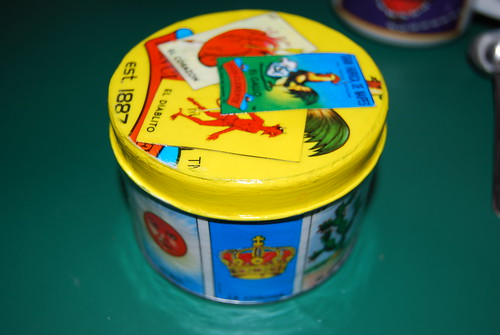
The Finishing Touch:
VARNISH it baby! You want to protect your work, don't ya?
Wipe off any varnish that creeps up over the lid-line of the tin or under the lid. Ensure that the varnish is not just dry, but allow plenty of time for it to cure before you handle - some varnishes take days to cure in cool or humid weather.
Use:
Start rockin' the Earl Grey with your awesomely cool tin!
I agree to look the other way if you were inclined to use your tin of awesomeness to hold office supplies, sugar cubes, spices, doggie treats or other tiny necessities of life.
Krissi Sandvik is a mixed-media artist and the owner of Krissi's Art Studio, home of Skelekitty and Friends. She was recently named "best tutorialer on the web" by her friend Rachelle Rose and she publishes a tutorial or "Ask Krissi's Art Studio" feature on Fridays here at Modern Rosies.
- tea tin or airtight container
- appropriate glue for your choice of materials
- decorative paper
- varnish of your choice
- acrylic paint (optional)
- sandpaper (optional)
- tea (duh!) or coffee or cocoa or ... you get the drift
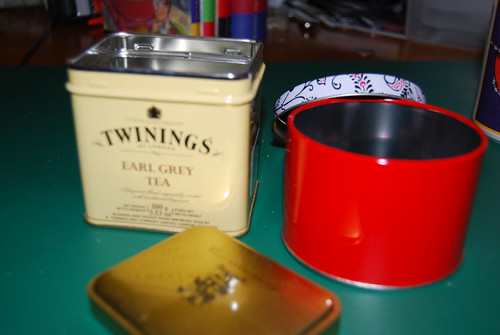 |
| I found some great tins on clearance at a local craft store You can also re-use tea tins or other airtight canisters |
- the height of the tin from the bottom of the lid. There is a little lip on the Twinings container showing where the lid is positioned when on. You want to make sure you don't cover above that point (it would make the tin too "fat" for the lid to fit).
- around the tin
- Alternatively, you could make a template with some newspaper, a pen and some scissors.
The Ephemera:
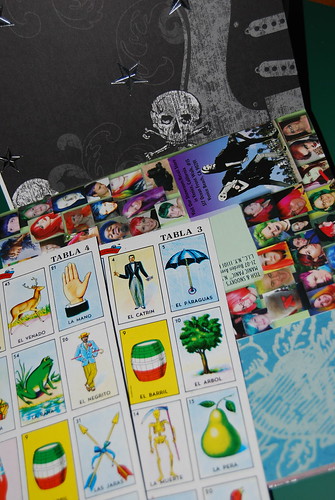 |
| Even though I don't papercraft often, I have a HUGE collection |
Trim your papers to fit within the measurements you took in step 2.
The Adhesive:
Choose an adhesive that works best with your materials. For metal tins, use a solvent based gel glue like E6000 or Liquid Nails. If you have a foil-lined paper canister (like a cocoa container), you can use a tacky white glue or my new personal fave, YES! paste.
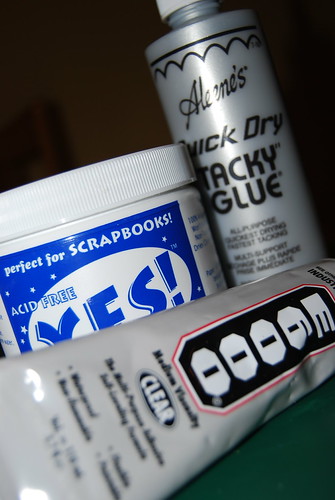 |
| One of these days, I'm gonna hafta write me a blog post on adhesives |
DO IT ALREADY!
Apply your pretty papers and let your glue dry.
Repeat the process with your lid. I chose to sand off the existing finish and paint the sides of my lid in a color that I matched to one of my papers. You could also use spray paint, tiny scraps of paper or a thin paper that would easily wrap from the top to the sides.
The Finishing Touch:
VARNISH it baby! You want to protect your work, don't ya?
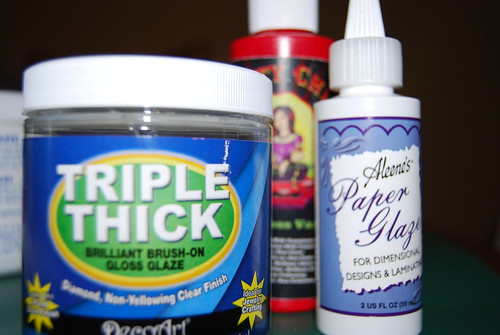 |
| There are a plethora of varnishes from which to choose, so pick your favorite whether it's gloss, satin or matte. My personal favorite is Golden Acrylic's polymer varnish in gloss (not shown) |
Use:
Start rockin' the Earl Grey with your awesomely cool tin!
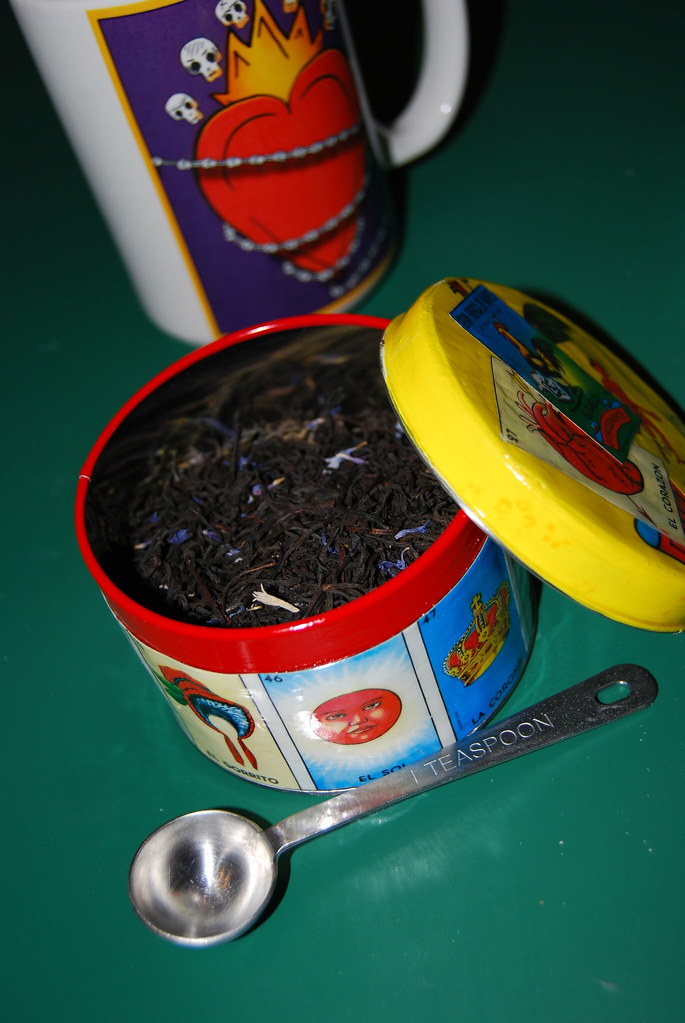 |
| My tea tin, tea and my favorite mug - design by Ladi Loera |
Krissi Sandvik is a mixed-media artist and the owner of Krissi's Art Studio, home of Skelekitty and Friends. She was recently named "best tutorialer on the web" by her friend Rachelle Rose and she publishes a tutorial or "Ask Krissi's Art Studio" feature on Fridays here at Modern Rosies.
Friday, November 4, 2011
Krissi's Quick Pick: Craft In America
Hi all, Union Riveter Krissi here with a quick pick for today.
As the daughter of a lawyer-turned-woodworker/stained glass artisan, I was fascinated by the initial episodes of the Craft In America documentary when they aired in 2007, and wanted to share this fascinating project dedicated to the exploration, preservation and celebration of craft and its impact on our nation’s cultural heritage.

Since it was originally released, Craft In America has grown from a small and fascinating PBS special to a non-profit educational resource for all things related to American handicrafts. PBS is currently airing the third season of this award-winning series and have expanded their resources to include a full website, Facebook page, iPhone/iPad app, beautifully photographed book, exhibition and study center.
I especially like how the crafts are broken down by materials/medium. You can browse through crafts in metal, glass, clay, fiber, paper/books and wood, and then start with the history of those crafts, or go straight for one of your favorite artists, if you like.
I hope if you haven't seen this series, that you will; if you have, that you'll watch the new episodes; and if you've yet to explore the website, that you'll take a minute to do that.
Happy clicking!
Krissi
Krissi Sandvik is a mixed-media artist and the owner of Krissi's Art Studio, home of Skelekitty and Friends. She was recently named "best tutorialer on the web" by her friend Rachelle Rose and she publishes on Modern Rosies every Friday.
Subscribe to:
Posts (Atom)

 Posts
Posts


 Brooke Heavey


